Your calendar shows what’s scheduled. Time blocking shows what actually gets done. Here’s how to do it on iPad — with your Apple Pencil.
Most people use their calendar wrong. They put meetings on it, maybe a dentist appointment, and leave the rest of the day as blank white space — as if “free time” means “productive time.”
It doesn’t. Blank space on a calendar is where hours go to die. You check email, scroll through Slack, start three things and finish none, and by 5 PM you wonder where the day went.
Time blocking fixes this. Instead of a to-do list you’ll never finish, you assign every task to a specific block of time on your calendar. Deep work gets a two-hour morning slot. Emails get 30 minutes after lunch. Exercise gets 6 PM, non-negotiable. Everything has a home.
It’s the simplest productivity technique that actually works — and iPad is the best place to do it.
What Is Time Blocking?
Time blocking is a scheduling method where you divide your day into blocks, each dedicated to a specific task or type of work. Instead of working from a running to-do list and hoping you get to everything, you decide when each thing will happen.
The idea was popularized by Cal Newport in Deep Work, but the core principle is older than that. Anyone who’s ever used a paper day planner with hourly slots — like the Franklin Planner or the Japanese hobonichi techo — has been time blocking for years, whether they called it that or not.
The key insight is simple: a task without a time slot is just a wish. When you write “finish proposal” on a to-do list, your brain treats it as optional. When you block 9:00–11:00 AM for “finish proposal,” it becomes a commitment — as real as a meeting with someone else.
Why iPad Is the Best Time Blocking Tool
You can time block with anything — a paper planner, Google Calendar on a laptop, a whiteboard on the wall. But iPad with Apple Pencil hits a sweet spot that nothing else matches.
The handwriting advantage
Research in cognitive science has consistently shown that handwriting engages the brain differently than typing. When you write out your time blocks by hand, you process your schedule more deeply. You’re not just moving pixels — you’re making decisions with your hand, which forces a kind of intentionality that clicking and dragging doesn’t.
This is why people who plan by hand tend to remember their plan. They don’t need to check their phone every 20 minutes to see what’s next. The act of writing it down burned it into memory.
Digital calendar underneath, handwriting on top
Here’s where iPad pulls ahead of paper: you can see your existing calendar events and write on top of them.
With a paper planner, you’d need to manually copy every meeting, every appointment, every recurring event before you can start blocking the rest of your day. That’s tedious, and it’s the reason most people abandon paper planning within a month.
On iPad, your Google Calendar and Apple Calendar events are already there. You open your planner app, and today’s meetings are already laid out. All you need to do is fill in the gaps — grab your Apple Pencil and block the open time for your actual work.
Faster iteration
Plans change. A meeting gets pushed back. A task takes longer than expected. A fire drill eats your morning.
On paper, you cross things out and squeeze new text into margins. On a laptop calendar, you drag blocks around with a trackpad. On iPad, you erase the old block and redraw it — as naturally as you’d cross something out on paper, but without the mess. It’s the speed of digital with the feel of analog.
How to Time Block on iPad: Step by Step
Step 1: Choose your time blocking style
Before you open any app, decide which approach fits your work:
Task-level blocking is the most detailed. Every hour has a specific task assigned: 9–10 AM for the quarterly report, 10–10:30 for email, 10:30–12 for client project. This works well if your days are varied and you need tight structure to stay focused.
Category blocking (also called “day theming”) assigns broad categories to blocks of time: mornings are for deep work, afternoons for meetings and communication, evenings for admin. This is less rigid and works well for people who find hour-by-hour scheduling suffocating.
Hybrid blocking — the one most people settle on — mixes both. You block categories for the broad shape of the day, then get specific within those categories. Morning deep work block? Fine, but within that block, you’ve written “draft blog post” so you know exactly what “deep work” means today.
Step 2: Set up your calendar sync
Time blocking only works if your existing commitments are visible. If you use Google Calendar, Apple Calendar, or Outlook, make sure those events show up in your iPad planner app.
Most iPad planner apps connect through Apple Calendar at the system level. Once your Google or Outlook account is added in iPad Settings → Calendar → Accounts, your events appear automatically in any calendar-aware app. We covered this setup in detail in our Google Calendar sync guide.
The important thing: don’t skip this step. Time blocking without seeing your existing calendar is like planning a road trip without checking the weather. You’ll end up double-booked.
Step 3: Block your day (the evening before or first thing in the morning)
This is the actual practice. Set aside 10–15 minutes — ideally the evening before, or first thing when you sit down to work.
Open your planner on your iPad. Look at tomorrow’s (or today’s) existing events. The meetings, the appointments, the recurring commitments — those are your fixed blocks. They’re already colored in.
Now, with your Apple Pencil, fill in the gaps:
Start with your most important work. What’s the one thing that, if you finished it today, would make the day feel successful? Give it your best hours — for most people, that’s the morning. Block it first, before anything else claims that time.
Add your routine blocks. Email, messages, and administrative work are necessary but shouldn’t consume your day. Give them specific slots — usually 30 minutes in the morning and 30 minutes in the afternoon. Containing email to a block prevents it from leaking into everything else.
Block personal time explicitly. Lunch, exercise, breaks — put them on the calendar. If they’re not blocked, they’ll be the first things sacrificed when the day gets busy. Blocking them makes them as real as any work task.
Leave buffer time. Don’t pack every minute. Leave 15-minute gaps between blocks as transition time. Tasks almost always take longer than you think, and buffer blocks absorb the overflow without destroying the rest of your schedule.
Use color coding. This is where Apple Pencil really shines. Use different colors for different types of work — blue for deep work, green for meetings, orange for personal time. You’ll be able to glance at your day and instantly see the balance. Too much of one color? Adjust.
Step 4: Follow the plan (imperfectly)
Here’s the part that makes or breaks time blocking: you don’t have to follow the plan perfectly.
A time-blocked day is not a rigid prison. It’s an intention. If your 10 AM block says “write proposal” but at 10 AM you’re in flow on something else that matters — keep going. The plan is there so that when you don’t know what to do next, the answer is already written down.
When blocks inevitably shift, adjust with your Apple Pencil. Erase, redraw, keep moving. The plan adapts to reality, not the other way around.
Step 5: Review at the end of the week
Once a week — Sunday evening or Friday afternoon — flip back through your blocked days. Look for patterns:
Did deep work actually happen in the morning blocks, or did meetings keep invading? Are your time estimates accurate, or do you consistently underestimate how long tasks take? Which blocks did you skip most often — and why?
This weekly review is where time blocking goes from a scheduling trick to an actual productivity system. Over a few weeks, you’ll learn your real rhythms: when you do your best work, how long things actually take, and which commitments need to be restructured.
Best iPad Apps for Time Blocking
Not every iPad planner is built for time blocking. Here’s what to look for, and which apps deliver.
What a time blocking app needs
The core requirement is simple: you need a view that shows hours of the day and lets you write or block time against them. Beyond that, the killer feature for iPad time blocking is calendar sync — seeing your existing events as the skeleton you write around.
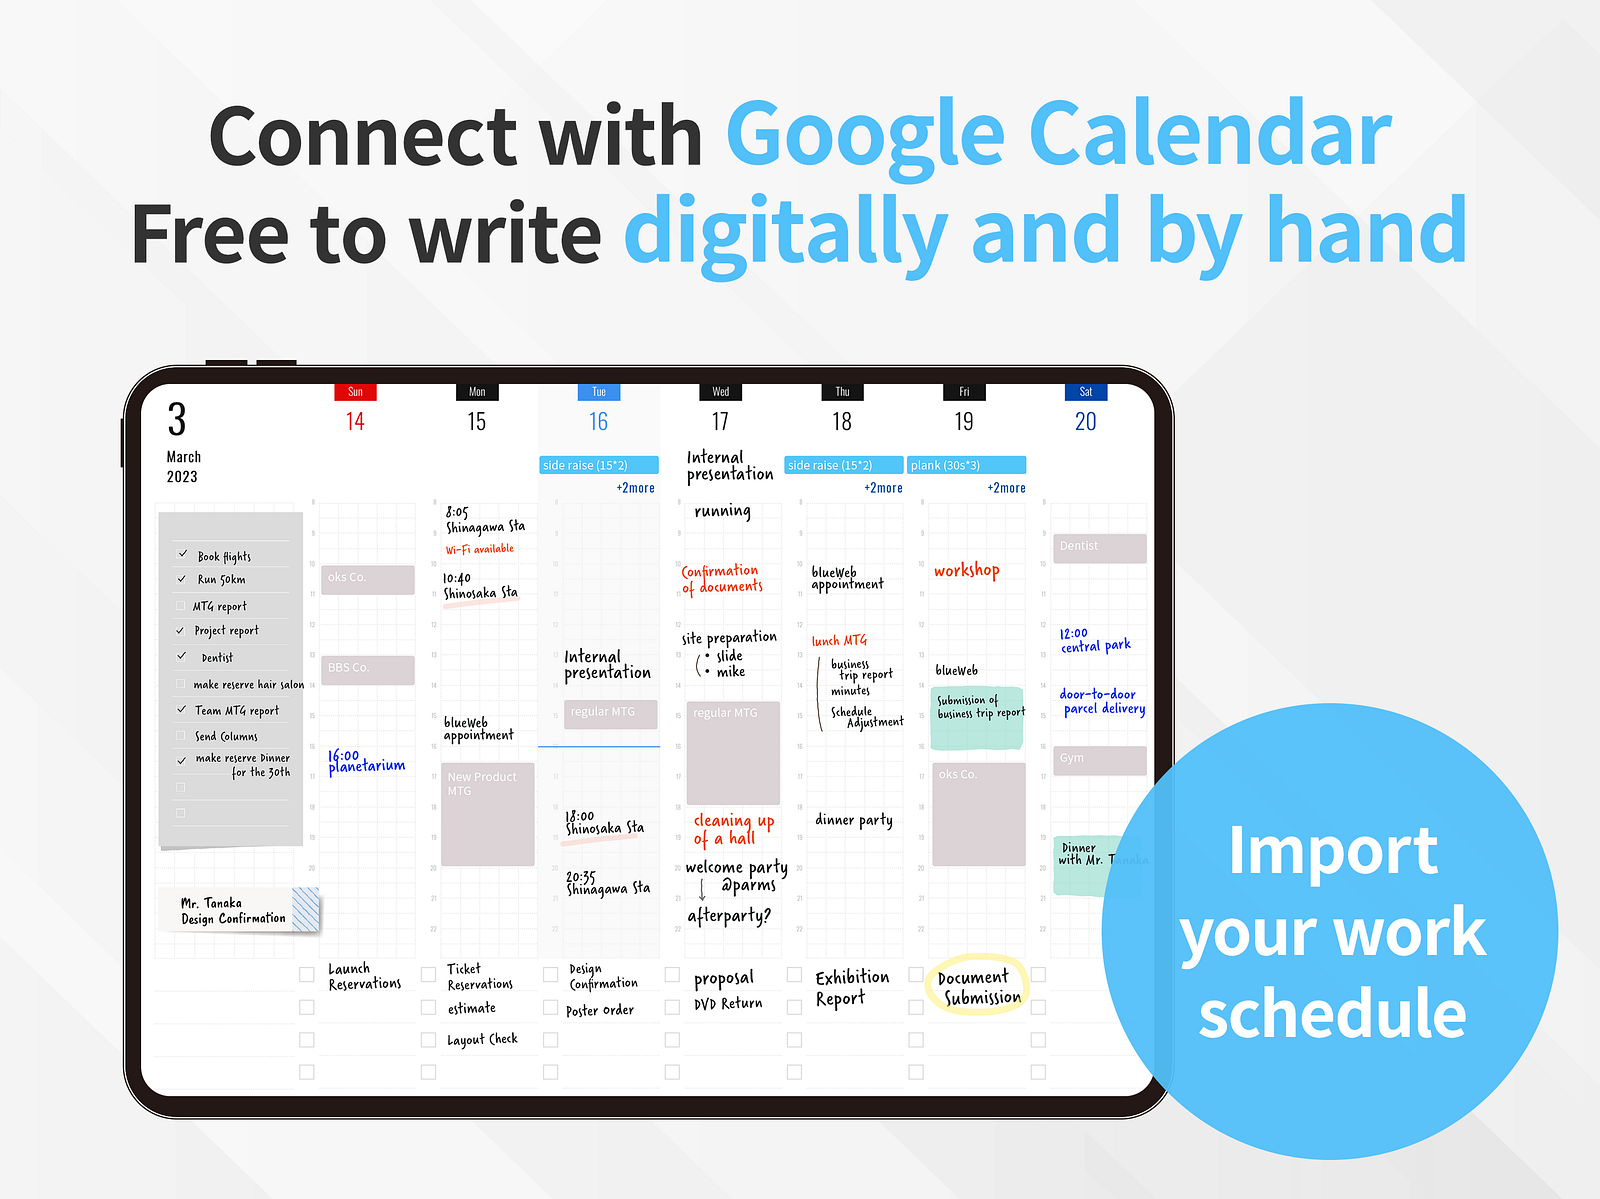
Planner for iPad
Planner for iPad gives you a weekly spread where your Apple Calendar and Google Calendar events are already displayed. You pick up your Apple Pencil and write directly around those events — blocking free time for tasks, drawing dividers between work categories, jotting priorities in the margins.
Your existing events are right there on the page — no copying, no switching apps. And the built-in stickers and stamps let you visually mark blocks — a star for high-priority deep work, a checkmark for completed blocks, a coffee icon for break time.
This is probably the fastest path from “I want to try time blocking” to actually doing it. Your calendar is already there. Just pick up the pencil and start.
Pencil Planner
Pencil Planner takes a similar approach — calendar integration with Apple Pencil handwriting overlaid on your schedule. The daily and weekly views show your calendar events, and you write around them. It’s clean and focused, though it lacks the built-in stickers and decoration options that some planners offer.
Structured
Structured takes a different approach entirely. Instead of a handwriting-first planner, it’s a visual timeline app where you drag tasks into time slots. It’s excellent for people who want a typed, keyboard-driven time blocking experience with color coding and recurring tasks. If you like the idea of time blocking but prefer tapping over writing, Structured is worth a look.
Fantastical
Fantastical is a powerful calendar app with natural language event creation and beautiful day/week views. It’s not handwriting-focused, but its time blocking features are strong for typed scheduling. If you already use Fantastical as your main calendar, you can time block directly within it.
PDF planner templates
Many people try to time block using PDF templates in GoodNotes or Notability — hourly layouts that you write into with Apple Pencil. The handwriting experience is good, but there’s no calendar sync. You’d need to manually check your calendar and copy events into the template before you can start blocking. For a weekly practice that you do every single day, that manual step adds up fast.
Time Blocking Tips That Actually Stick
Start with just the morning
If blocking your entire day feels overwhelming, start with just the hours before lunch. Block three or four morning tasks, and leave the afternoon open. Once the morning blocking habit is solid — usually after two weeks — extend it to the full day.
Use the two-minute rule for unblocked tasks
Small tasks that take less than two minutes — replying to a quick message, signing a document, updating a spreadsheet — don’t need their own block. Do them immediately when they appear, or batch them into a “small tasks” block at the end of the day.
Protect your deep work blocks like meetings
The trick that makes time blocking work for knowledge workers: treat your deep work blocks with the same respect as a meeting with your boss. When someone asks “are you free at 10 AM?” and your calendar shows a deep work block — the answer is no. You’re booked. Suggest an alternative time.
This is easier said than done, especially in open-office cultures. But it’s the single most important habit for making time blocking meaningful. If deep work blocks are the first thing sacrificed when a meeting request comes in, they’re not blocks — they’re suggestions.
Plan for energy, not just time
Not all hours are equal. Most people have two to four hours of peak cognitive performance per day — usually in the morning, sometimes in the late evening. Schedule your most demanding work (writing, coding, strategic thinking, creative work) during those peak hours. Put routine work (email, admin, meetings) in the lower-energy periods.
If you don’t know when your peak hours are, time blocking will teach you. After a few weeks of tracking what you accomplish in each block, patterns will emerge.
The Sunday evening ritual
Spend 15 minutes on Sunday evening sketching out the week ahead. Not hour-by-hour — just the big blocks. Which days are heavy with meetings? Where are the open stretches for deep work? When is the gym happening? This weekly overview gives you a mental map of the week before Monday morning arrives.
Then each morning (or the night before), you fill in the specific tasks within that day’s framework.
Time Blocking vs. To-Do Lists: Why the Switch Matters
You might be thinking: I already have a to-do list. Why do I need time blocks?
Here’s the difference. A to-do list tells you what needs to happen. A time-blocked schedule tells you what, when, and for how long. The second question — when — is where most productivity systems break down.
When you have a list of 15 tasks and eight hours of available time, the list feels manageable. But when you actually try to place those 15 tasks into specific time slots, you quickly realize you have 12 hours of work and 8 hours of time. The schedule forces honesty in a way the list never does.
That honesty is uncomfortable — but it’s also liberating. Once you see that you can’t do everything, you stop trying to do everything. You prioritize ruthlessly. You move three tasks to tomorrow without guilt, because the math simply doesn’t work. And the five tasks that fit into today’s blocks? Those get done, because they have protected time.
Common Time Blocking Mistakes
Blocking in 15-minute increments. Unless you’re a lawyer billing by the quarter hour, 15-minute blocks are too granular. They create a schedule that looks impressive but is impossible to follow. Start with one-hour blocks minimum for real work, 30 minutes for smaller tasks.
Not blocking personal time. If lunch, exercise, and breaks aren’t on the calendar, they won’t happen. Your future self will always find a reason to skip them. Block them.
Refusing to adjust. A time-blocked day is a plan, not a contract. When reality changes — and it will, every single day — update the blocks. The goal isn’t to predict the future perfectly. It’s to always know what you should be doing right now.
Using too many tools. Your time blocking system should live in one place. If your blocks are in a planner app, your to-do list is in Todoist, and your calendar is in Google Calendar, you’re spending more time managing the system than doing the work. Find one app that shows your calendar and lets you write your blocks, and commit to it.
Getting Started Today
Time blocking doesn’t require a new app, a special template, or a weekend spent setting up a productivity system. It requires 10 minutes and something to write with.
Tonight or tomorrow morning, open your iPad. Look at your calendar. Pick up your Apple Pencil. And in the blank spaces between meetings, write down what you’re actually going to do with those hours.
That’s it. That’s time blocking.
If you want a planner that makes this effortless — with your calendar already on the page, Apple Pencil ready to go, and stickers to mark your blocks — Planner for iPad is built for exactly this workflow.
Download Planner for iPad on the App Store →
Planner for iPad requires iPadOS 17 or later and supports Apple Pencil. Calendar sync works with any calendar source connected to your iPad, including Google Calendar, iCloud, Outlook, and other CalDAV providers.
Last updated: April 2026