You just got an iPad. Or maybe you’ve had one for years but only used it to watch videos. Either way, here’s how to turn it into the planner you’ll actually open every day.
There’s a moment that happens to almost everyone who tries digital planning on iPad for the first time. You pick up the Apple Pencil, write a to-do list on the screen, and something clicks. It feels like paper — but better, because you can undo mistakes, move things around, and your planner never runs out of pages.
But getting to that moment can be surprisingly confusing. Should you buy a PDF planner from Etsy? Download a note-taking app? Use Apple’s built-in Calendar? The number of options is overwhelming, and most “beginner guides” online are really just product reviews in disguise.
This guide is different. It walks you through the actual decisions you need to make, in order, with honest trade-offs. By the end, you’ll have a working digital planner setup on your iPad — no matter which approach you choose.
What You Need to Get Started
The barrier to entry is lower than you might think.
An iPad. Any iPad that supports Apple Pencil will work. You don’t need an iPad Pro — an iPad Air or even the standard iPad (10th generation or later) is perfectly fine. If your iPad was made in the last five years, it almost certainly supports Apple Pencil.
An Apple Pencil (or compatible stylus). This is the one thing you really shouldn’t skip. You can use your finger, but the entire point of digital planning is the handwriting experience. The Apple Pencil’s pressure sensitivity, palm rejection, and low latency make writing feel natural. If you have a 1st-generation Apple Pencil and an older iPad, that works great too.
A planner app. This is where the real decision-making begins, and we’ll break it down in the next section.
That’s it. No special screen protector required (though some people like matte protectors for a more paper-like feel). No external keyboard. No elaborate setup. Just an iPad, a Pencil, and an app.
The Three Approaches to Digital Planning on iPad
There isn’t one right way to plan digitally. There are three fundamentally different approaches, and understanding the differences before you download anything will save you hours of frustration.
Approach 1: PDF Planners in a Note-Taking App
This is the most popular method in the digital planning community, and if you’ve seen elaborate planner setups on Instagram or Pinterest, this is probably what they’re using.
How it works: You buy a PDF planner template (usually from Etsy, Gumroad, or a designer’s website), import it into a note-taking app like GoodNotes or Notability, and write on the pages with Apple Pencil. The PDF is typically hyperlinked — tap a tab to jump from the monthly view to a specific week, for example.
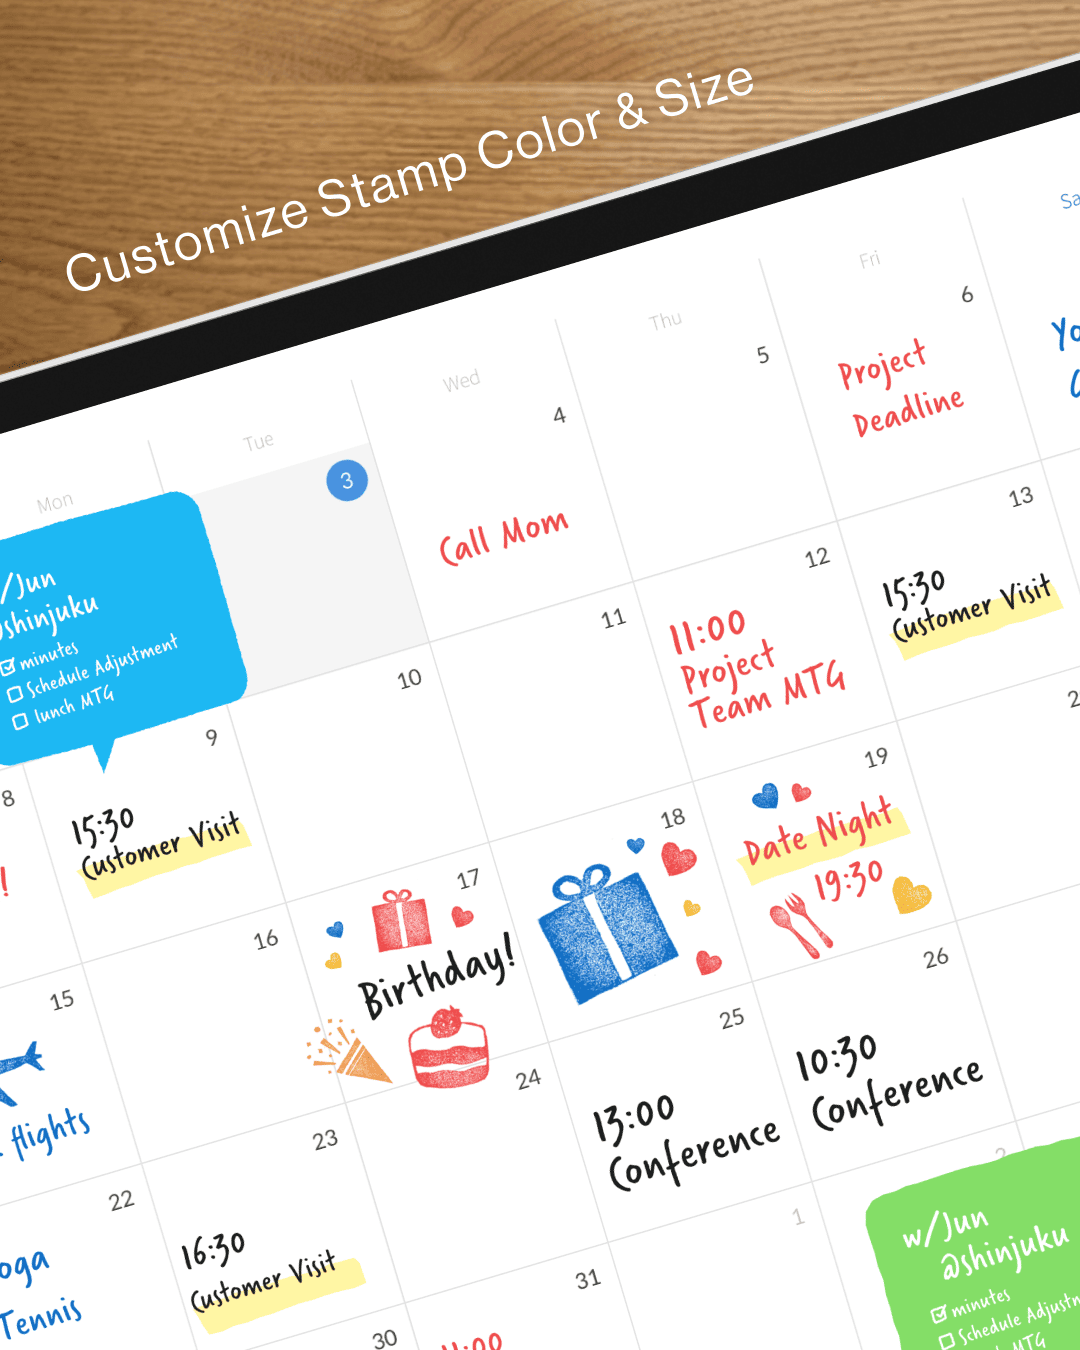
The appeal: Total visual customization. You can choose from thousands of designs — minimalist, floral, dark mode, pastel, bullet journal style, dated or undated. Many come with sticker packs so you can decorate your planner pages. The creative community around PDF planners is massive and genuinely fun.
The trade-off: No calendar sync. Your PDF planner is a static file. It doesn’t know about the meetings on your Google Calendar or the reminders in your Apple Reminders app. You have to write everything in by hand, and when things change, you have to update it by hand too. The setup process — downloading the file, importing it into the right app, learning the hyperlink navigation — can also be fiddly for beginners.
Cost: GoodNotes is approximately $10 (one-time purchase) or available via subscription. PDF planners range from free to about $30, with most popular ones in the $10–20 range. Sticker packs are often sold separately.
Best for: People who love decorating and customizing their planner, and don’t mind manually writing in their schedule.
Approach 2: A Dedicated Planner App
Instead of repurposing a note-taking app, some apps are built from the ground up as planners. They come with daily, weekly, and monthly views already structured, and most importantly, they can connect to your calendar.
How it works: You download the app, open it, and start writing on pre-built planner pages. Your Apple Calendar events (and any calendars synced to it, like Google Calendar) appear automatically on the page. You write around them, add notes, and plan your day in context.
The appeal: Simplicity and integration. You don’t need to buy a separate template or figure out how to import files. Your calendar is already there. You pick up the Pencil, and you plan. When a meeting gets rescheduled, your planner updates itself.
The trade-off: Less visual customization than the PDF approach. You’re working within the app’s design system, not a blank canvas. Some planner apps have templates and stickers, but the creative freedom is more constrained than a fully custom PDF layout.
Cost: Varies by app. Some are free with in-app purchases, others are one-time purchases, and some use subscriptions.
Best for: People who want to start planning immediately without setup, and people who rely heavily on their calendar.
Approach 3: A General-Purpose App (Notion, Apple Notes, etc.)
Some people build their planner from scratch in a flexible tool like Notion, or simply use Apple Notes with a daily template they copy and paste.
How it works: You create your own structure — a daily log in Apple Notes, a Notion database with calendar views, or a set of templates you duplicate each week. Some people use Apple’s built-in Freeform app as a whiteboard-style planner.
The appeal: Complete control with tools you might already have. No extra cost if you use Apple Notes or Freeform. Notion offers powerful database features if you prefer typed planning over handwriting.
The trade-off: You’re building everything from scratch. There’s no pre-made weekly spread or monthly calendar — you design it yourself. The handwriting experience in these apps (especially Notion) is often secondary to typing, so the Apple Pencil experience may feel less polished.
Cost: Free (Apple Notes, Freeform) to $10/month (Notion’s paid tier, though the free tier works for personal use).
Best for: People who enjoy building systems, or who prefer typing over handwriting.
How to Choose: A Simple Decision Tree
If you’re still not sure which approach is right for you, answer these two questions:
Do you want to see your calendar events on your planner page?
If yes → a dedicated planner app will save you the most time. If you don’t use a digital calendar much, or you prefer to write everything in manually → the PDF approach or a general-purpose app might be fine.
Is decorating and customizing your planner part of the fun for you?
If yes → PDF planners in GoodNotes or Notability give you the most creative freedom. If you just want to sit down and plan → a dedicated app gets you there faster.
There’s no wrong answer. Some people even use more than one approach — a planner app for daily scheduling and a PDF planner for journaling or goal tracking.
Setting Up Your First Digital Planner (Step by Step)
Let’s walk through the actual setup for each approach. Pick the one that matches your choice above and follow along.
If You Chose a Dedicated Planner App
This is the fastest path from “I want to try digital planning” to actually planning.
- Download a planner app. Planner for iPad is a good starting point — it’s built specifically for iPad and Apple Pencil, with built-in calendar sync. Other options include Pencil Planner and Structured.
- Connect your calendar. If you use Google Calendar, you’ll want to sync it to your iPad first. Go to Settings → Calendar → Accounts → Add Account → Google, and sign in. Once Google Calendar is synced to your iPad’s built-in Calendar app, your planner app will pick up those events automatically. (For a detailed walkthrough, see How to Sync Google Calendar with Your iPad Planner.)
- Open the app and navigate to today. Your calendar events should already be visible on the page.
- Pick up your Apple Pencil and start writing. Write your to-dos, notes, or priorities directly on the planner page, alongside your calendar events. That’s it — you’re digital planning.
Total setup time: about 5 minutes.
If You Chose a PDF Planner
This takes a bit more setup, but the creative payoff is worth it if customization matters to you.
- Download a note-taking app. GoodNotes (approximately $10 one-time or subscription) is the most popular choice. Notability is another solid option.
- Find a PDF planner template. Etsy is the largest marketplace. Search for “digital planner 2026 iPad” and filter by reviews and sales count. Look for planners described as “hyperlinked” — this means you can tap tabs to navigate between sections. Many sellers offer free samples so you can try before you buy.
- Download the PDF to your iPad. This usually means tapping the download link from Etsy, then finding the file in your Downloads folder or the Files app.
- Import the PDF into your note-taking app. In GoodNotes, tap the “+” button, select “Import,” and choose your PDF file. It should open as a new notebook with all the planner pages ready to go.
- Start writing. Navigate to today’s date (use the hyperlinked tabs if your planner has them) and begin planning.
Total setup time: 15–30 minutes, depending on how long you spend choosing a template.
If You Chose a General-Purpose App
- Open Apple Notes, Freeform, or Notion — whichever you prefer.
- Create a simple daily template. It doesn’t need to be elaborate. A heading with the date, a section for your top 3 priorities, a section for your schedule, and a section for notes is a great starting point.
- Duplicate the template each day (or each week) and fill it in.
Total setup time: 10 minutes to create your template, then a minute or two each day to duplicate it.
Your First Week: Building the Habit
The tool you choose matters less than whether you actually use it. Here are some practical tips for making digital planning stick during your first week.
Start with just one page per day. Don’t try to fill in every section of your planner on day one. Write down three things you want to get done today. That’s enough. The habit of opening your planner is more important than what’s inside it.
Plan at the same time each day. Most people find that either first thing in the morning or the evening before works best. Pick one and stick with it for a week. If it doesn’t feel right, switch.
Don’t worry about making it pretty. If you chose the PDF planner route, you might feel pressure to use stickers, washi tape, and color coding right away. You don’t have to. Just write. You can add the decorations later once the habit is established.
Use your planner alongside your calendar, not instead of it. Your digital calendar handles the mechanics — reminders, shared events, time zones. Your planner is where you think about your day. They serve different purposes, and the best setup uses both.
Give yourself permission to experiment. If the app you chose doesn’t feel right after a few days, try another one. The switching cost is low — unlike paper planners, you haven’t invested $30 in a physical book you feel obligated to finish. This is one of the genuine advantages of going digital.
Common Mistakes Beginners Make
After watching thousands of people try digital planning for the first time, a few patterns come up again and again.
Over-engineering the setup. Spending three hours choosing the perfect template, the perfect color scheme, the perfect sticker pack — and then being too exhausted to actually plan. Start simple. Refine later.
Trying to replicate a paper planner exactly. Digital planning has different strengths than paper. Instead of trying to recreate your Hobonichi Techo page-for-page, lean into what digital does better: undo, calendar sync, infinite pages, search.
Ignoring calendar sync. If you already use Google Calendar or Apple Calendar for scheduling, find a way to get those events into your planner view. Manually copying your schedule from one app to another every day is a habit that won’t last.
Buying too many planners and templates. The digital planner marketplace is vast, and it’s tempting to collect templates the way you might collect notebooks. But having 15 planner PDFs in your GoodNotes library creates the same paralysis as having 15 unused notebooks on your shelf. Pick one, commit for a month, then evaluate.
What About Screen Protectors?
You’ll hear a lot about matte screen protectors (like Paperlike) that make the iPad screen feel more like paper. They add friction that some people love for handwriting.
Here’s the honest take: they’re a nice-to-have, not a must-have. If you find writing on the glass screen too slippery, a matte protector can help. But many people plan perfectly happily on a bare screen. Try planning without one first, and add a screen protector later if you feel you need it.
The trade-off is that matte protectors slightly reduce screen clarity and color vibrancy. If you use your iPad for watching videos or photo editing in addition to planning, you’ll notice the difference.
Frequently Asked Questions
Do I need the newest iPad?
No. Any iPad that supports Apple Pencil is fine for digital planning. Even a used iPad Air 3 or iPad 7th generation will work well.
Can I use a third-party stylus instead of Apple Pencil?
You can, but the experience won’t be as good. Most planner apps are optimized for Apple Pencil’s pressure sensitivity and palm rejection. Third-party styluses work for basic writing but often lack the precision and responsiveness that make digital planning feel natural.
Is digital planning better than paper planning?
Neither is objectively better. Paper has a tactile quality that many people love, and there’s research suggesting that handwriting on paper aids memory. Digital planning offers undo, calendar sync, search, portability, and infinite pages. Some people use both — a digital planner for scheduling and a paper notebook for journaling. The best planner is the one you’ll actually use.
How do I back up my planner?
Most apps sync to iCloud automatically. For PDF planners in GoodNotes, your notebooks are backed up to iCloud as long as iCloud sync is enabled in the app’s settings. You can also export individual notebooks as PDF files and store them wherever you like.
Can I plan on my iPhone too?
Some planner apps have iPhone companion apps, though the experience is better on iPad’s larger screen. GoodNotes and Notability both sync between iPad and iPhone. For quick task capture on the go, using Apple Reminders or a task app and then reviewing them during your iPad planning session is a practical workflow.
Ready to Start?
The best way to learn digital planning is to do it. Pick one approach, set it up, and plan tomorrow. You can always change apps, switch methods, or add complexity later. But you can’t optimize a system you haven’t started.
If you want the fastest path to a working planner with your calendar already on the page, Planner for iPad gets you there in about five minutes. If you want creative freedom and don’t mind the setup, grab GoodNotes and a PDF template. If you want to build from scratch, open Apple Notes.
Whatever you choose — pick up the Pencil, and start writing.
Planner for iPad is available on the App Store. It requires iPadOS 17 or later and supports Apple Pencil. Calendar sync works with any calendar source connected to your iPad, including Google Calendar, iCloud, and Outlook.
Last updated: April 2026